The Doom of Mokhaiotl Has Arrived
Bald Services brings you the ultimate guide for OSRS’s first delve boss,so grab a snack and settle in, because this boss is no joke.
What Is the Doom of Mokhaiotl?
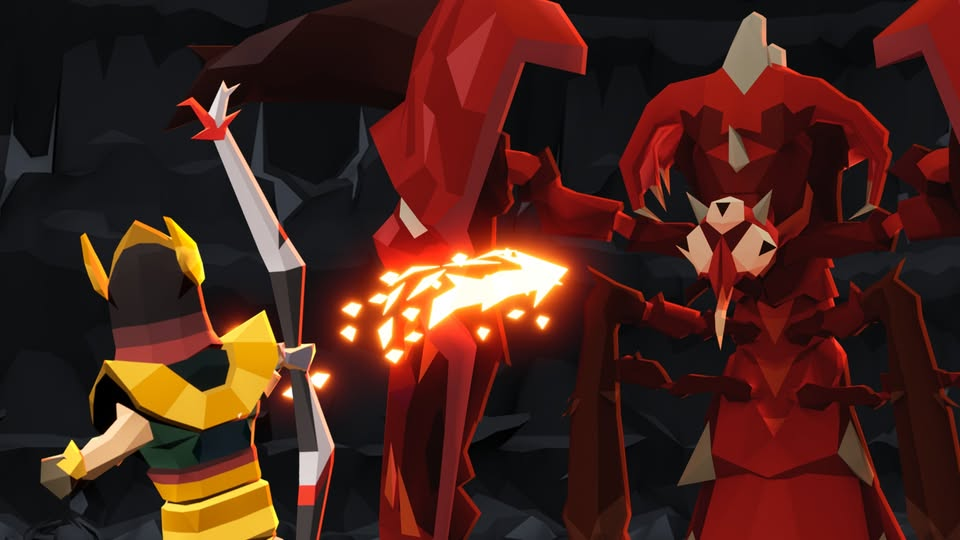
The Doom of Mokhaiotl, called Osto-Ayak (“under-creature”) by the Old Ones, is a massive, insect-like demon lurking in the Tonali Cavern. To face it, you’ll need to complete The Final Dawn quest.
Buried deep beneath the Tlati Rainforest, the Doom is the game’s first delve boss, introducing a system similar to RuneScape’s enrage mechanics. After each defeat, the boss retreats to a deeper delve level, increasing the challenge up to Level 8,the toughest tier, which can be repeated for better rewards.
The deeper you go, the better the loot. Some unique drops only appear at higher delve levels, while general rewards stay consistent. After each win, you can either continue deeper or leave with your earnings. But be warned: if you die before claiming your loot, you lose everything from that run. Win or lose, the delve resets to Level 1.
Requirements & Recommendations
Before facing the Doom of Mokhaiotl, make sure you’ve completed the following:
- The Final Dawn – Required to unlock the boss.
- While Guthix Sleeps – Grants access to demonbane weapons crafted from the Tormented Synapse:
- Scorching Bow
- Emberlight
- Purging Staff
- A Kingdom Divided – Unlocks Superior Demonbane and Resurrect Greater Ghost for stronger bossing utility.
How to Get There
There are a few ways to reach the Doom of Mokhaiotl:
- Mokhaiotl Waystone – Instantly teleports you to the Tonali Cavern.
- Pendant of Ates – Use it to teleport to the Kastori Waystone, then head west on foot.
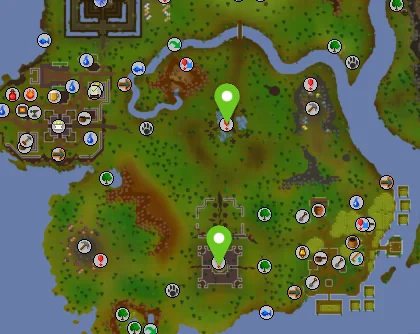
- Ancient Teleporters – Once inside the cavern, search the chest west of the lift platform to obtain two ancient teleporters. These can be placed up to 30 tiles apart to create a shortcut back to the boss after each attempt.
Fight Overview
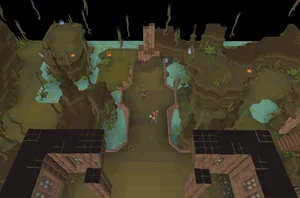
The Doom of Mokhaiotl scales in difficulty depending on the delve level at which it’s encountered. The early levels are comparable to the Corrupted Gauntlet, while deeper levels,especially Delve 7 and 8,offer a significantly harder challenge.
- For each delve level up to Delve 8, the boss gains +50 combat levels.
- While its core stats remain the same, the damage from its attacks increases.
- The Doom also gains +25 HP per delve, except between Delve 6 and 7, which share the same health pool.
Base Mechanics (Delve 1)
At Delve Level 1, the Doom attacks using ranged and magic projectiles, similar to The Leviathan:
- Blue orbs = Magic
- Green orbs = Ranged
Use the correct protection prayer before impact. - If you’re in melee range, the boss will use a melee attack.
Additional mechanics include:
- Boulder Toss: Launches a blue or brown boulder into the air. When it shatters:
- Blue = Creates a blue orb, disables protection prayers
- Brown = Creates a green orb, disables protection prayers
- Volatile Earth: The boss summons two erupting earth nodes.
- Destroying both generates a protective dome.
- The dome starts at the second destroyed node and travels to the first, shielding the player from a shockwave that covers the entire arena.
Scaling Mechanics
As you descend further, the Doom’s health continues to rise slightly, and new mechanics are introduced while existing ones become more punishing. Every delve level adds layers of complexity, making the encounter increasingly demanding and requiring tighter execution and awareness.
The Juicy Drops
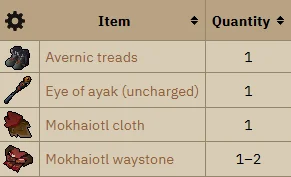
After defeating the Doom of Mokhaiotl, it burrows deeper underground, giving players a choice:
continue the pursuit into a harder delve level or claim your rewards and end the run.
- Loot is not revealed until the boss is defeated.
- Interacting with the hole left behind lets you either proceed to the next level or break off and collect your rewards.
- Like in Fortis Colosseum, the chance of receiving unique drops increases with each delve level.
- Dying during the fight or teleporting out will forfeit all loot from that run.
Gear Setup
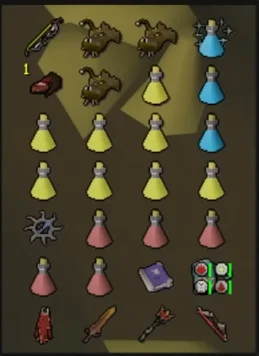
Ranged is the most effective combat style against the Doom of Mokhaiotl, especially in later delve levels where movement is restricted and the boss can melee through protection prayers.
Recommended Weapons:
- Twisted Bow – Best overall damage dealer.
- Scorching Bow – A strong alternative, especially effective due to the boss’s demon classification and susceptibility to demonbane. Also useful for clearing larvae and disrupting the Doom’s shield phase.
Defence Reduction:
Lowering the Doom’s defence (capped at 60) is key to maximizing DPS. Both the Twisted and Scorching bows benefit significantly from this.
- Tonalztics of Ralos – Its special attack reduces up to 27 defence per hit, making it the most reliable tool for defence shredding.
- Elder Maul / Dragon Warhammer – Decent accuracy and similar defence-reducing capabilities, though less consistent.
- Zaryte Crossbow – Delivers the highest single-hit damage when used at the start of the wave.
- Tip: Bring Dizana’s Quiver to avoid ammo swapping during the fight.
Budget Setup
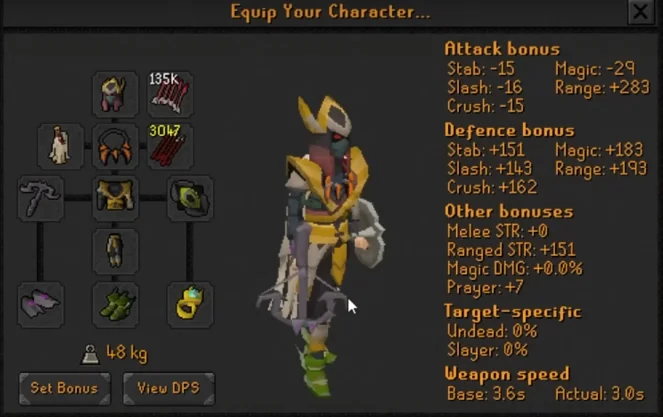
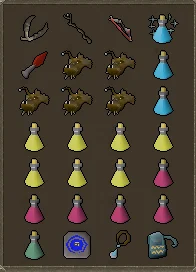
We get it,not everyone has max gear. But keep in mind, the Doom of Mokhaiotl is an endgame boss.
While it’s definitely possible to defeat the Doom with a budget setup, doing so will increase the difficulty significantly. On the bright side, death fees are cheaper, which is helpful when learning the fight.
If you’re going in without top-tier gear, make sure you’re confident with the mechanics and be prepared for a tougher, more punishing encounter.

Mechanics: Attacks
The Doom of Mokhaiotl uses two standard attacks and a range of powerful special attacks. Understanding these is essential for survival at any delve level.
Standard Attacks
1. Projectile Attack
The Doom launches a single projectile at the player. The color of the projectile determines the correct protection prayer:
- 🔴 Red = Melee
- 🟢 Green = Ranged
- 🔵 Blue = Magic
- At Delve Level 1, Doom only uses Magic and Ranged projectiles.
- From Delve Level 2 onward, all three attack types are possible.
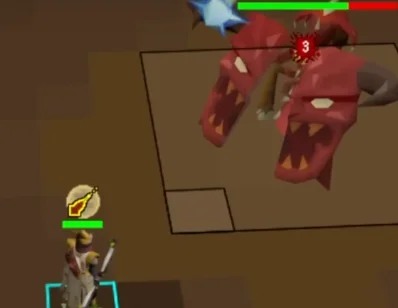
2. Melee Attack
If you’re standing in melee range, Doom can strike with a close-range attack.
- This can be partially blocked using Protect from Melee.
Special Attacks
The Doom can unleash multiple special attacks in quick succession, often overlapping.
These attacks scale in complexity and frequency as you progress through the delve levels.

Rocks
The Doom can spawn rocks within the arena that act as impassable obstacles. Players cannot destroy these rocks by attacking them, but they can be shot over using magic or ranged attacks.
These rocks add an extra layer of challenge by limiting movement and complicating the handling of other special attacks.
Importantly, on Delve Levels 6 to 8, these rocks provide crucial cover from the slam attack, functioning similarly to Zebak’s roar mechanic.
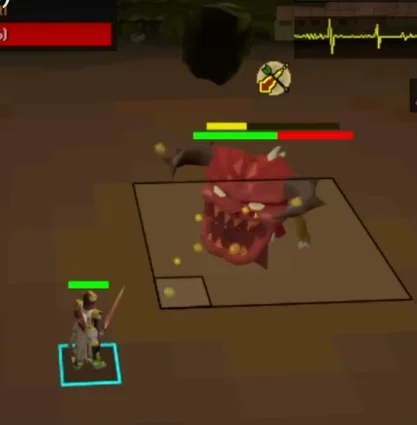
Exploding Ball
The Doom throws a ball into the air that explodes into multiple falling rocks, targeting tiles near where the player stood at the moment of explosion.
- A large rock lands on the player’s previous position, blocking movement.
- To avoid damage, players must move away from tiles showing a shadow before the ball explodes.
- The ball’s color before exploding indicates the attack style that follows:
- Brown/Neutral Ball: First attack after explosion is Ranged.
- Blue Ball: First attack after explosion is Magic.
- Upon explosion, the player’s protection prayers are disabled temporarily.
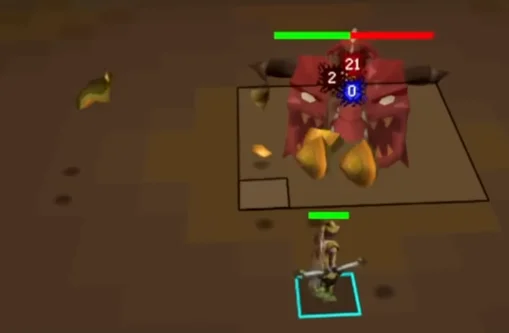
Projectile Attacks After Explosion
- After the rocks fall, the Doom launches projectile attacks whose number depends on the delve level:
- Delve 1: 1 attack
- Delves 2 & 3: 2 attacks
- Delve 4 and above: 3 attacks
- These attacks alternate between ranged and magic:
- If the first attack is ranged, the next will be magic, then ranged again if applicable.
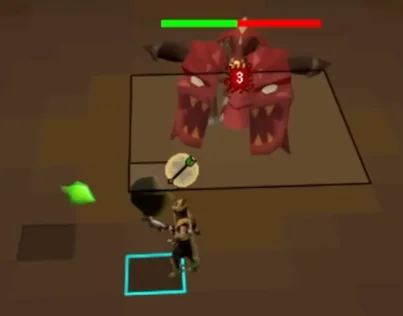
Delve 8 Special
- At Delve 8, Doom throws two exploding balls simultaneously.
- Both balls are the same color, and the second ball’s damage is delayed.
- To avoid prayer disable, do not activate prayers until the second ball explodes.
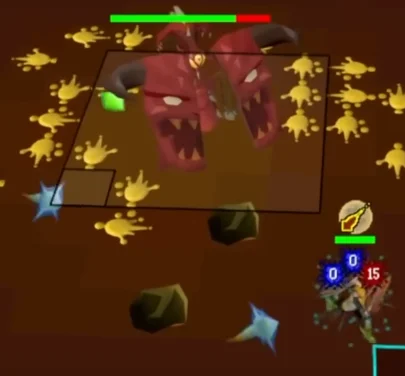
Attack Sequences by Ball Color
| Ball Type | Attack Order |
|---|---|
| Mage Ball | Mage – Range – Mage |
| Range Ball | Range – Mage – Range |
Shockwave Attack
The Doom summons multiple Volatile Earth nodes around the arena. You must shoot two of these to create a protective Earthen Shield that guards against the shockwave damage.
- The first Volatile Earth you shoot sets the end point of the shield’s path.

- The second one shot determines where the shield initially spawns.
- The shield travels along the path from the second node to the first, dissipating either when it reaches the end or when the slam attack finishes.
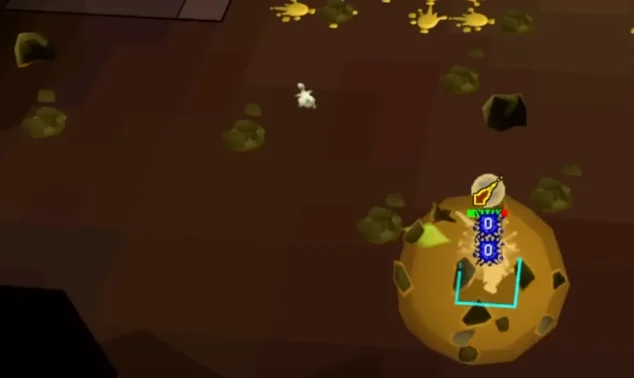
- For maximum protection time, choose two points that are far apart so you can stay inside the shield longer.
Increasing Difficulty with Delve Levels
- At lower delve levels, the Doom releases one shockwave.
- At higher delve levels, it launches multiple shockwaves in succession. You must stay within the moving shield throughout to avoid damage.
- Timing the destruction of the Volatile Earth nodes is crucial to ensure the shield fully protects you.
Shield Movement and Pathing Tips
- The shield moves differently from player pathing: it prioritizes diagonal movement before moving in straight (cardinal) directions.
- When placing the shield’s start and end points, be mindful to avoid:
- Rocks that block the shield’s path.
- Large patches of yellow acid blood, which can hinder movement.
Demonic Larva Spawns
The Doom can summon Demonic Larvae that move toward its center tile. If a larva reaches this spot, it will:
- Heal the Doom slightly, or
- Add to the shield during the shield phase.
In both cases, the player also takes damage.
Demonic Charge
- Each time a larva heals the Doom, the player gains 1 stack of Demonic Charge.
- Each stack increases the damage larvae deal to the player and boosts their healing effect by 1.
- Demonic Charge does not reset between delve levels, so stacks accumulate over time.
Larvae Health and Damage
- Larvae have 2 hitpoints.
- They take:
- 1 damage per hit from non-demonbane attacks.
- 2 damage per hit from demonbane attacks.
- This means:
- Larvae can be killed with one hit from a demonbane weapon or spell.
- They can also be killed with one attack from a dual-hit weapon (e.g., Dual Macuahuitl, which hits twice for 1 damage each).
- Otherwise, they require two hits from other weapons.
Attack Mechanics and Delays
- Larvae can be attacked regardless of your current attack delay.
- Using a demonbane weapon adds no attack delay.
- Using any other weapon adds a delay based on that weapon’s attack speed.
Combat Protection and Variants
- Larvae sometimes protect against one form of combat, requiring multiple weapon types to handle them effectively.
- At Delve Level 4 and below, each larva protects from two combat styles, so you need three different damage types to cover all variants.
- Larvae have different names and colors indicating their weakness:
- 🔵 Blue: Magic
- 🟢 Green: Ranged
- 🔴 Red: Melee
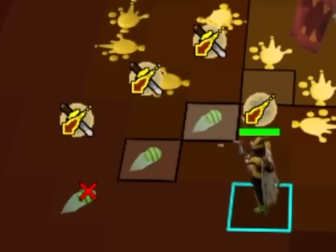
Larvae Death Explosion
- When killed, larvae explode in a 3×3 area centered on their death tile, damaging players within the blast.
- If the explosion reaches the Doom, it will deal up to:
- 9 physical damage to the Doom, or
- 100 shield charge during the shield phase.
- In this case, the player takes no damage from the explosion.
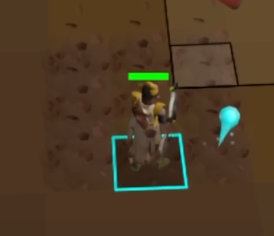
Charge Attack
The Doom builds up a yellow charge bar, which fills faster at lower delve levels. If the bar reaches full, the Doom unleashes a powerful charge attack:
- Delve Level 1: Deals 60+ damage.
- Higher delve levels: Damage increases up to 99.
- This attack cannot be protected against, making it vital to interrupt by attacking the boss.
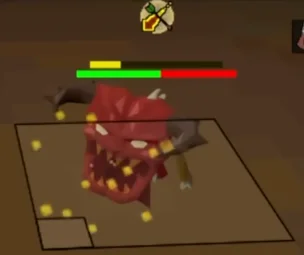
Key Details:
- While charging, the Doom does not use ranged, magic, or melee attacks.
- All player attacks during the charge are 100% accurate.
- Continuously attacking the Doom resets the charge meter and prevents the attack.
When Charge Attacks Occur:
- All Delve Levels:
- Doom activates Protect from Missiles and Protect from Magic simultaneously.
- Melee attacks interrupt the charge and trigger a melee punish (see below).
- Delve 3 and Above:
- During the blue shield phase (when vulnerable to demonbane), Doom charges attacks continuously until the phase ends.
- Only demonbane attacks will interrupt the charge in this phase.
- Delve 5 and Above:
- While performing its racecar attack, Doom charges continuously.
- Any attack resets the charge progress during this attack.
Melee Punish
When the Doom is charging and praying against magic and ranged attacks, you can perform a melee punish:
- Attacking with a melee weapon:
- Guarantees a hit.
- Cancels the yellow charge bar.
- Deals bonus echo damage based on your melee strength bonus.
- Multi-hit weapons (like the Scythe of Vitur, Dual Macuahuitl, or Glacial Temotli) multiply this echo damage per hitsplat.
- Note: Bonuses from prayers or melee void gear do not increase echo damage.
- If the Doom dies from a melee punish, it releases vials of holy water around the arena.
- Standing in these vials heals the player.
- The holy water also clears acid blood.
Blue Shield Phase
At Delve Level 3 and above, after several rounds, the Doom enters a blue shield phase:
- Gains a separate blue shield health bar, similar to the Phantom Muspah prayer shield.
- Demonic larvae spawn continuously and must be managed.
- The Doom repeatedly attempts its charge attack during this phase.
- Only demonbane hits can reset the charge.
- The Doom immediately starts charging again after a demonbane hit.
- Damaging the Doom depletes the blue shield.
- Once the shield reaches zero, the charge attacks and larvae spawning stop, and the fight resumes normally.
- Demonbane weapons are highly recommended here since:
- They deplete the shield faster.
- Larvae can be one-hit with demonbane.
- Exploding larvae within 1 tile (melee range) of the Doom deals 100 damage to the shield.
- Letting larvae reach the Doom heals the shield slightly.
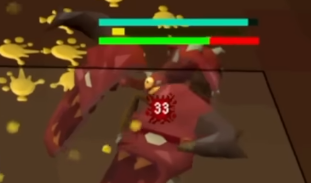
Acid Blood
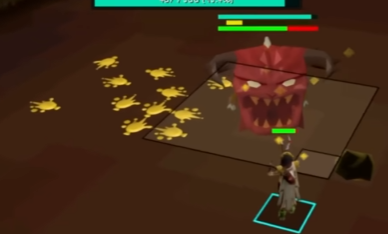
Starting at Delve Level 3, the Doom sprays acid blood in a square-shaped pattern in a chosen direction:
- This acid persists through further delve levels.
- At Delve 6, the arena is cleared, and the sprays continue in the new space.
- Standing in acid blood causes:
- Moderate damage.
- Venom effect on the player.
- Thralls increase acid blood spawns, so beginners are advised to avoid them from Delve 3 onward.
Racecar Attack
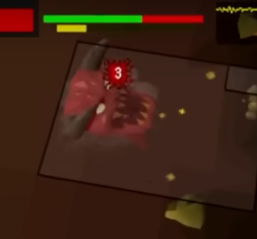
Starting at Delve Level 5, after completing the blue shield phase, the Doom will perform its Racecar Attack:
- The Doom digs into the floor, then spawns a yellow eye in the direction it detects the player.
- After a brief delay, it rushes in a straight line toward the yellow eye.
- Players caught in the path take damage starting at 10, scaling up to 30 at deeper delve levels.
- The rush destroys rocks in its path, making it harder to avoid the subsequent slam attack.
Slam Attack
Starting at Delve Level 6, the Doom adds a powerful slam attack after its racecar rush:
- The slam damages the entire arena, but can only be avoided by taking cover behind rocks, similar to Zebak’s roar attack.
- When the slam hits, some rocks are destroyed permanently, regardless of whether a player was behind them.
- If all rocks in the arena are destroyed,by slam attacks or the racecar rush,there is no way to block the slam’s damage.
- The slam’s visual dust effect extends about 10 tiles from the Doom, but the attack hits players even beyond this radius.
- The only protection is to position yourself directly behind a rock, with the rock between you and where the Doom finishes its rush.

Ready for the Action? We Sure Are!
That’s everything you need to know about the brutal mechanics behind the Doom of Mokhaiotl. Yeah,it’s tough. But don’t worry, we’ve got you covered.
At Bald Services, we’re already clearing Delve Level 8+ runs flawlessly and pulling in those juicy drops, even on the most cursed ironman accounts.
Avernic threads, confliction gauntlets and the Eye of Ayak, these are must have items for you account ( and really expensive ones as a main )
So what are you waiting for?
Open a ticket here and secure your chance at the new best-in-slot gear in Old School RuneScape.
More further info at Osrs Wiki
